![]()
 Install MySQL Version 5


Installation of MySQL version 5
MySQL is included on the accompanying CD-ROM. With the software, you will find the installation documentation written by the vendor. You can use those documents or, for Windows, follow the step-by-step plan that follows. This detailed plan includes many screen shots for installing MySQL and is, therefore, perhaps easier to understand than the documentation included.
Note: If you download another version of MySQL, the installation procedure might be different from what you see below. In that case, it might be better to follow the installation procedure as described in the manuals.
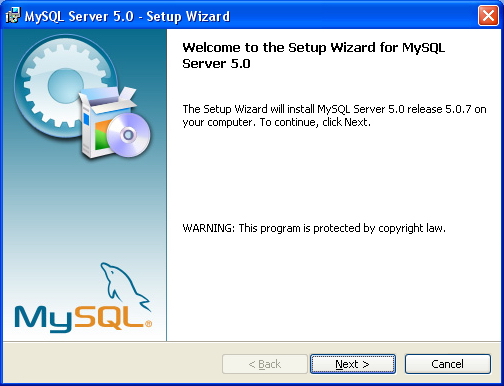
On the CD-ROM, look for the directory called MySQL. This directory contains one file, called mysql-5.0.7-beta-win32.zip. Open this zipped file by double-clicking it. Next, a file appears called Setup. Double-click this file to start it. After several seconds, the window
below appears and the preparations for the installation of MySQL begin.
Choose Next in that window. The window below appears.
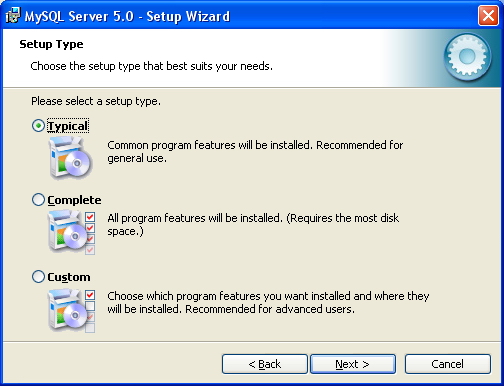
In this window, you are asked to select how you want to install MySQL. We assume that you select the option
Complete. The next question asks whether you are ready for the installation. If so, choose
Next.
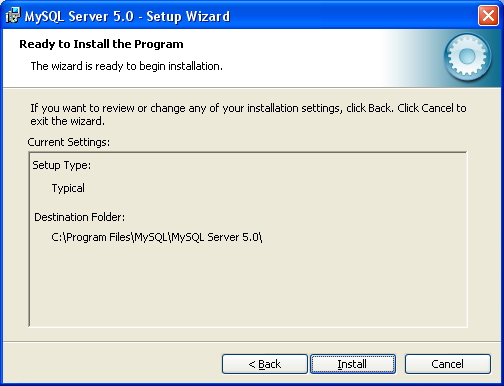
If you are ready for the installation, choose Install. If you want to change something,
select Back and change some of the installation parameters. If you do select
Install, the installation begins, and its progress is shown; see below.
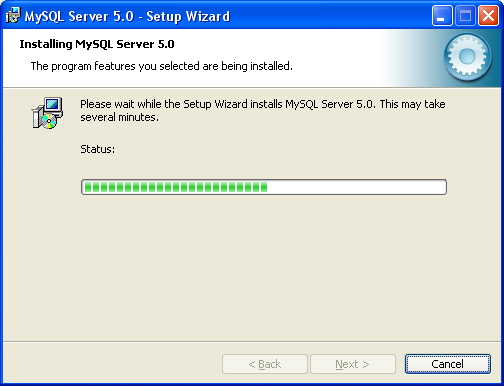
After several seconds, the question presented below is shown.
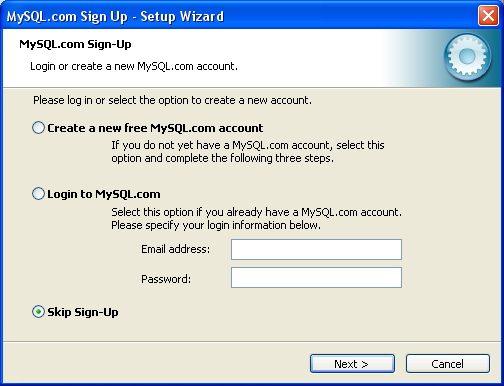
Choose Skip Sign-Up in this window and go to Next; you can sign up later. The message
below appears.
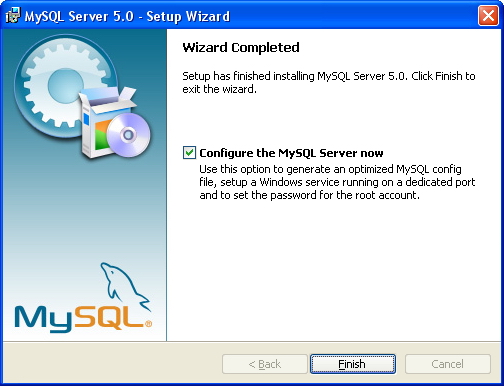
Make sure that in the above figure the check mark is selected for Configure the MySQL Server now and choose
Finish. The window below appears.
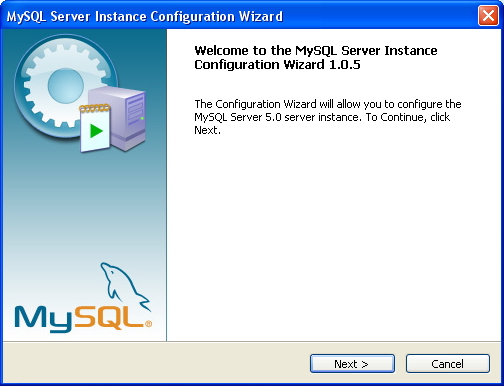
Select Next here; and the following window appears.
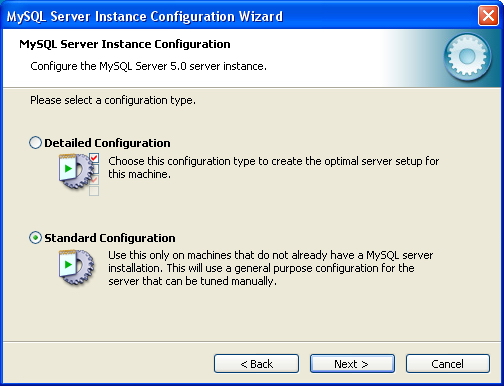
In the above figure, select the option Standard Configuration and then click
Next. Later, when you have gained the necessary experience and have a thorough knowledge of MySQL, you can always install MySQL all over again and select
Detailed Configuration. After you select Next, the window below appears.
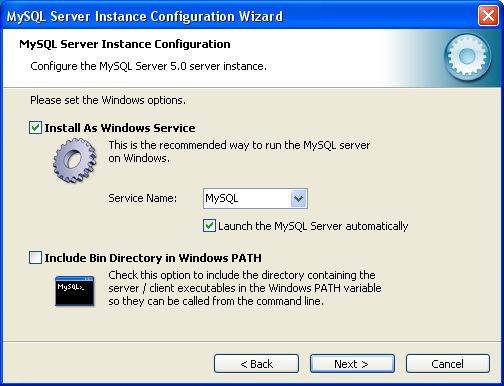
In the above figure, choose the option Install As Windows Service and click
Next. The window below is presented.
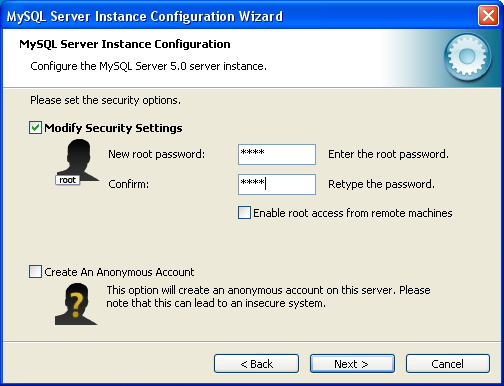
You must enter the password of the user that has been created by MySQL. The name of this user isroot. Of course, you may come up with a password yourself, however, in this book, we assume that you will use
root. You must enter this password twice. For security reasons, these passwords are represented as asterisks. Then click
Next. The following window is displayed.
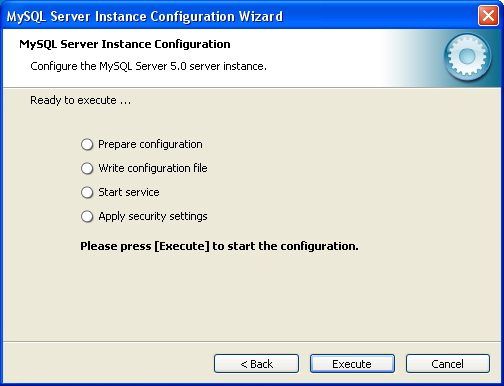
If you are ready to finish the configuration of MySQL, click Execute in the screen
above. You will see the status of the configuration process with check marks; see
below. This process should take only a few seconds.
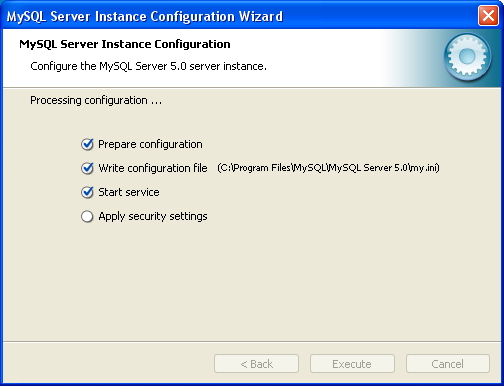
When the process has completed successfully, the window below appears.
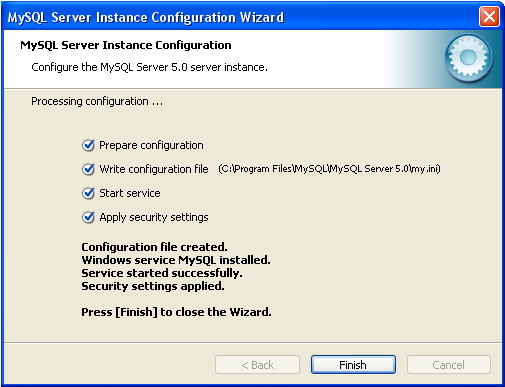
When you select Finish, you are ready and the MySQL database server has been installed. To check whether everything works well, choose
Administrative Tools in the Control Panel first and Services next; see
below.
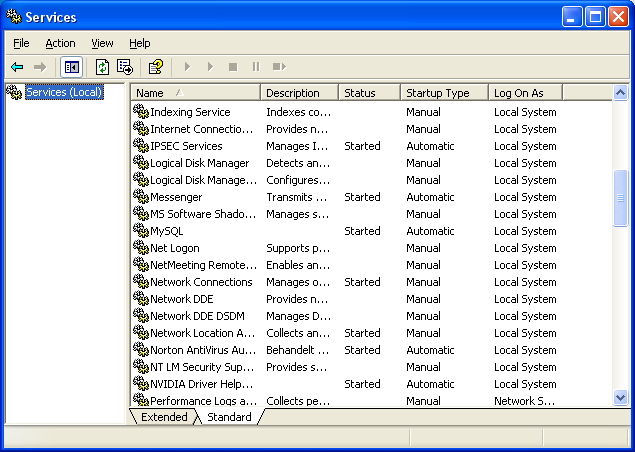
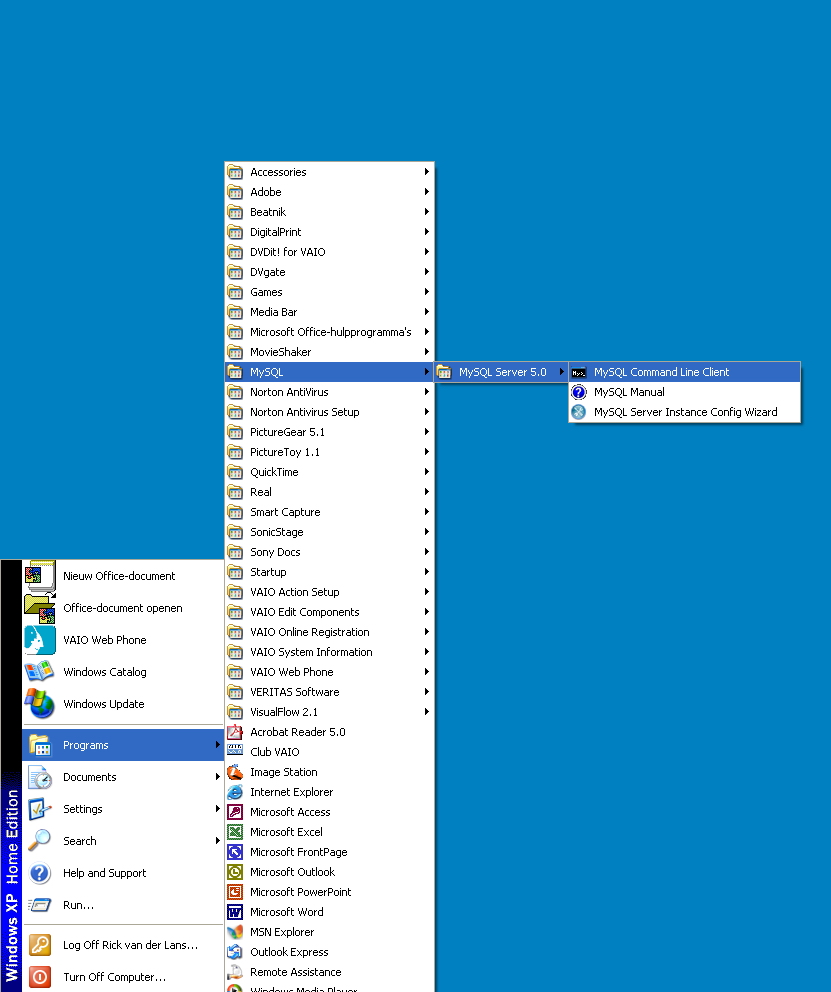
If MySQL appears as a service in the list shown above (see the eighth row), the MySQL database server is running. The next question is whether you can use thedatabase server, or, in other words, whether you are able to log on. This is easy to check by starting the program
MySQL Command Line Client from the Taskbar; see the Figure below.
The MySQL Command Line Client asks for the password of the user called root. We
assume that it will be root again. Enter root. The window below appears.
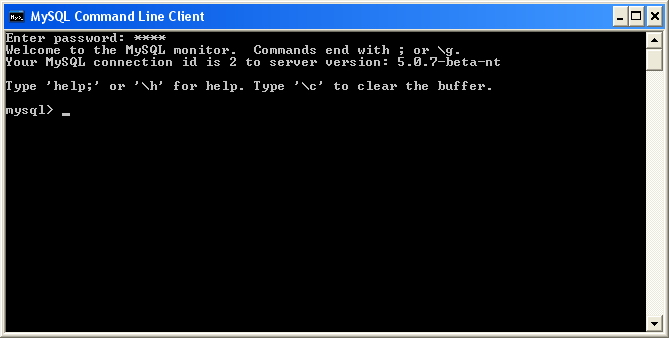
In this window enter the following simple SQL statement (do not forget the semicolon) and press the Enter key:
select version()
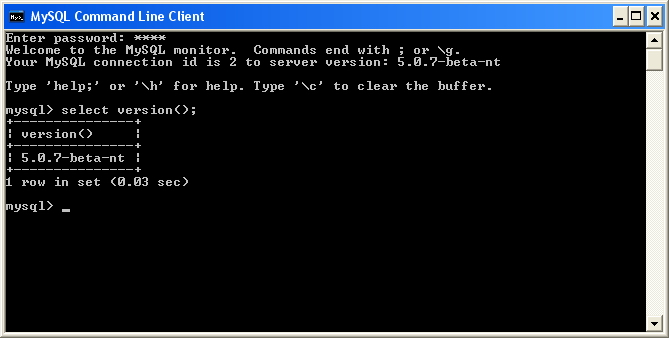
If it all worked well, close the window above by typing exit. You have installed MySQL correctly, everything works!
We recommend that you install ODBC for MySQL and WinSQL next.
Copyright (c) 2017 R20/Consultancy B.V.. All rights reserved.